Metal Wine Rack Assembly: Checks Before Adding Bottles
Check parts, alignment, the supporting surface and bottle fit after assembling a metal wine rack. Know when to stop and contact the supplier.
The last screw is in place, but the job is not finished. Before loading a self-assembly metal wine rack, take a few minutes to check that the finished structure matches its instructions and sits correctly on its supporting surface.
These checks are especially useful for retailers preparing display samples and customers assembling a rack at home. They do not replace the model's instructions or a stated load limit.
Start with the exact model's instructions
Lay out the components and compare them with the parts list before assembly. Keep similar-looking fasteners separated if the instructions identify different sizes or locations.
If a part is missing, a hole does not align or a threaded connection will not engage normally, stop and contact the supplier. Bending a bracket, drilling another hole or substituting a fastener changes the product and may make the original instructions unsuitable.
Follow the specified assembly sequence and tightening guidance. Do not assume that a technique recommended for one rack applies to another.
Check the empty rack on a level surface
Once assembled, put the empty rack on the surface where it will be used. Confirm that the surface is level, stable and suitable for the complete loaded arrangement.
Check whether the rack's intended contact points sit correctly. A wobble can come from the supporting furniture, an assembly error or a product issue. Remove the rack and investigate those possibilities separately rather than hiding the problem with an improvised prop.
Keep it away from shelf edges and places where it could be knocked during normal movement. The rack's footprint alone does not describe the space needed when bottle necks extend beyond it.
Confirm the supports are oriented correctly
Compare trays, rails and brackets with the instruction diagrams. A component may appear to fit while facing the wrong direction.
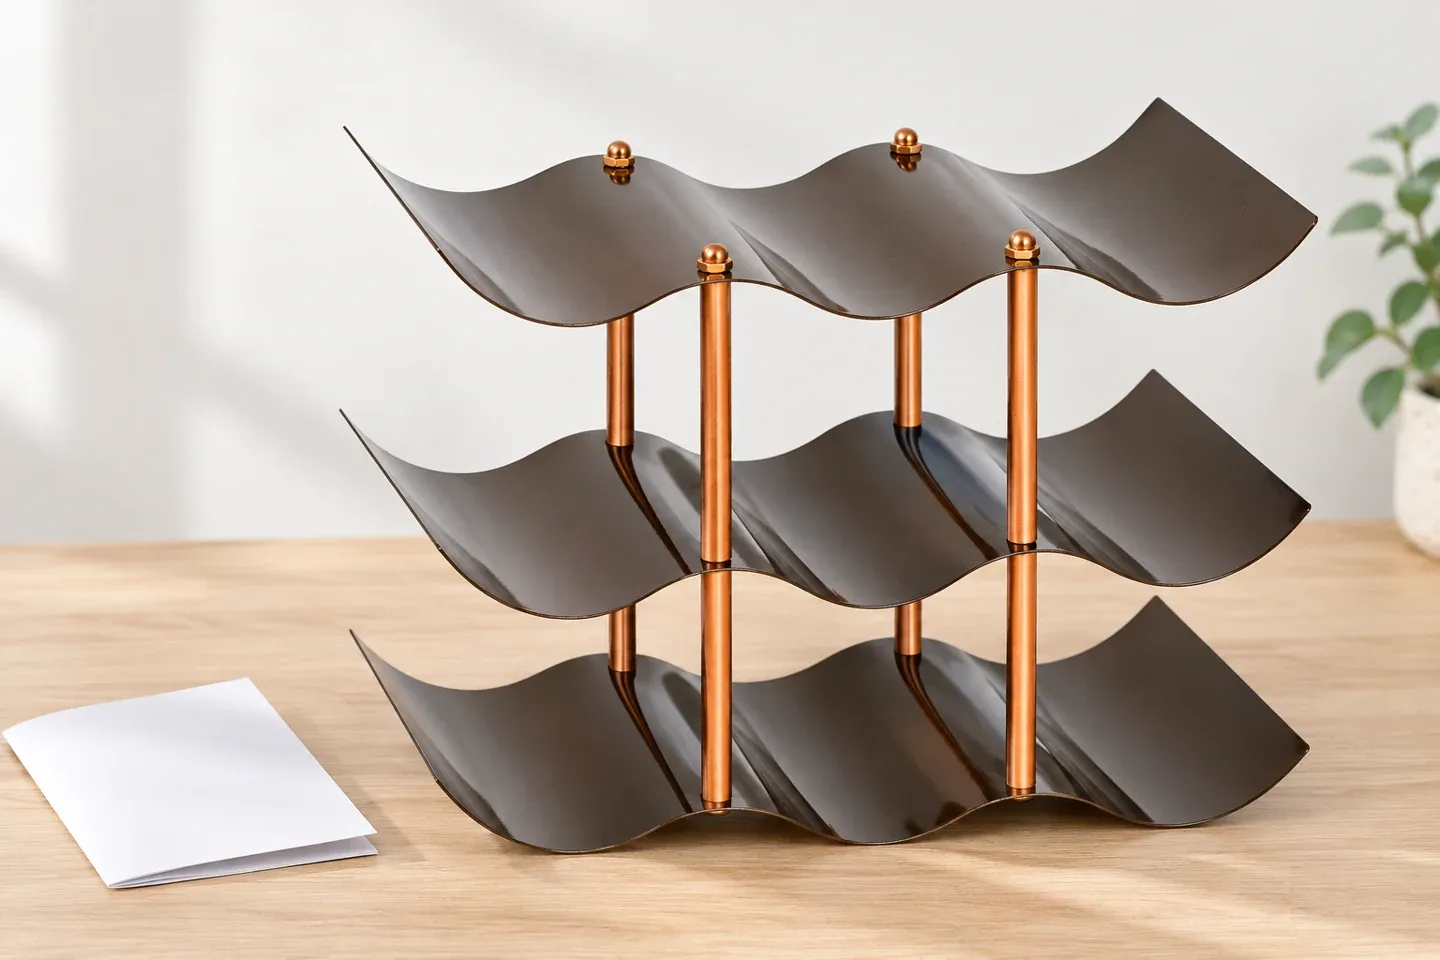
The Mloarts A330 three-tier metal wine rack, for example, is described as a self-assembly iron rack with three wavy trays and capacity for nine standard bottles. That description is specific to that model. It is not a universal capacity for other metal wine racks, and the word “standard” does not establish that every bottle shape will fit.
Recheck connections as directed by the instructions. If there is unexpected movement in the empty structure, resolve it before adding bottles.
Check bottle fit before filling every position
Use the manufacturer's loading instructions and compatible bottle sizes. Confirm that a bottle sits in the intended supports without being forced and that neighboring positions provide the necessary clearance.
If fit is uncertain, ask the supplier for clarification rather than using a bottle to test the rack's strength. Never exceed a stated capacity or assume an unoccupied gap is another storage position.
A rack organizes bottles; it does not control the surrounding temperature or light. Assess the storage location separately according to the wine's requirements.
Know what to send when you need help
Photograph the empty assembled rack from the front and side. Include the model reference, the relevant connection and a short description of the issue. Keep the assembly instructions and packaging available while it is being resolved.
For Mloarts racks, request the current instructions and product details for the exact SKU before setting up a shop sample or customer display. A rack that is straightforward to check is easier to explain, and unresolved assembly questions belong with the supplier before bottles are added.